Have a little Disney fan? Make your child this Easy No Sew Baymax Hair Bow DIY to show off your Disney style! May contain commissioned links.
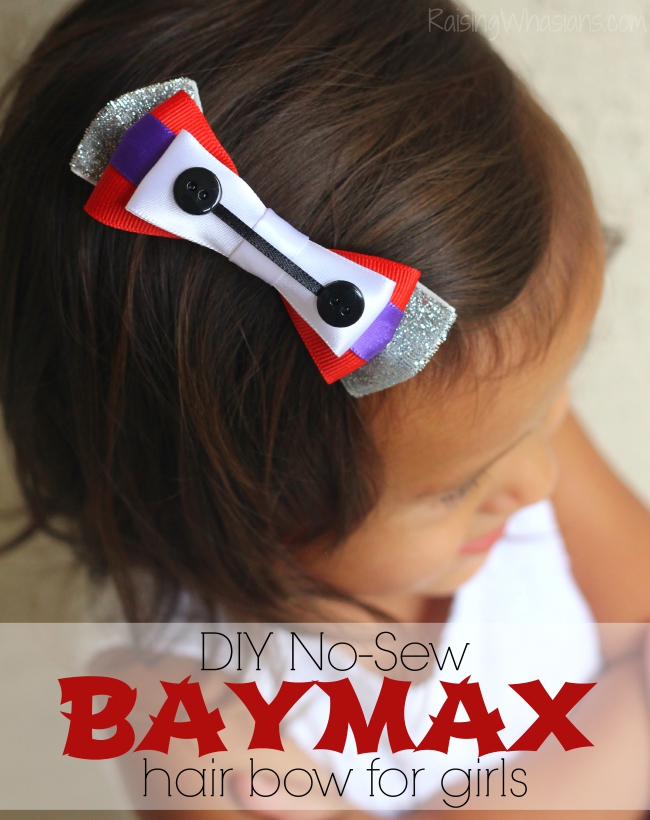
No Sew Baymax Hair Bow DIY
So. Much. Cuteness! I’ve always had a weakness for 2 things, little girls and hair bows. If you want to see me melt into a puddle of love, insert an adorable girl and hair bow combo. I’ve always wanted to make pretty girl hair accessories myself, but as you all know, Christie can’t sew to save her life.
Inspired by my latest D23 EXPO trip and of course, my adorable daughter, I created this ADORABLE No Sew Baymax Hair Bow DIY that is perfect for a little dress up or just everyday Disney love! Ready to melt into a puddle of love? See how easy it is to make your own adorable Disney inspired hair bow!
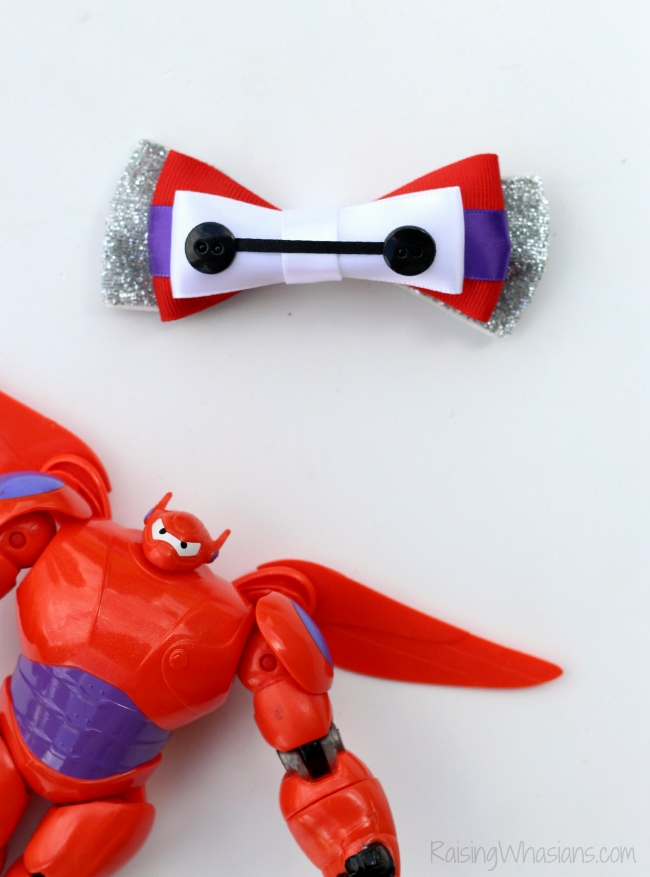
It’s no secret that Big Hero 6 is one of my favorite Disney animated movies like ever. Seriously, how can you not love that huggable squishable guy? And with a BIG D23 Expo trip just around the corner, I definitely was feeling the Disney inspiration. You bet, I have a few tucked away in my suitcase to bring along for my California visit. Any guesses on one of my Disney bounding outfits yet? 🙂 Ok, so here’s how to make this awesome bow. Seriously, I was able to knock one out in 10 minutes. You can too!
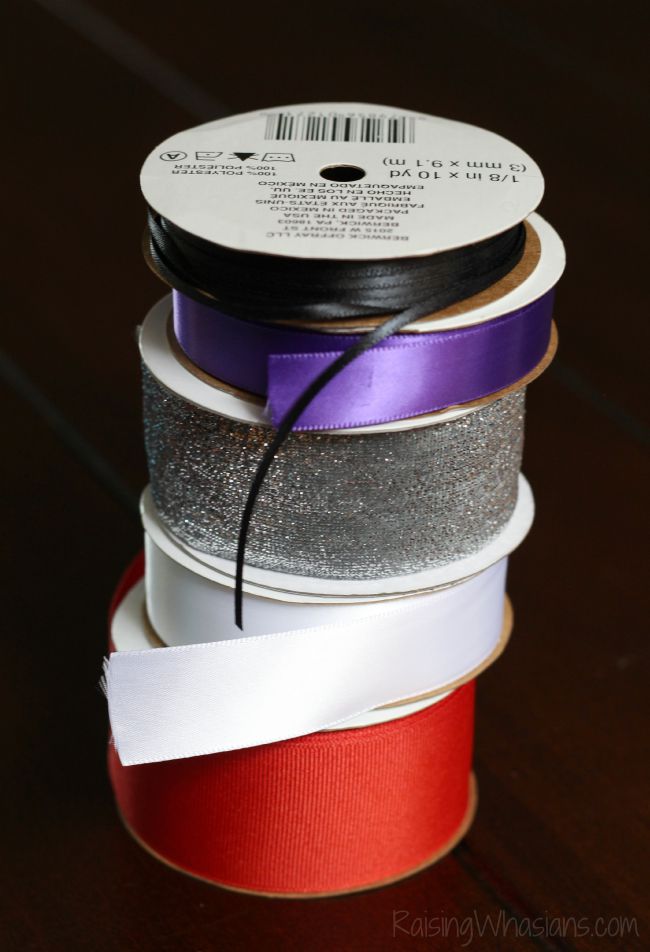
What You Will Need:
- Silver Sparkle Ribbon – 1.5 inches thick
- Red Ridged Ribbon – 1.5 inches thick
- Purple Satin Ribbon – 5/8 inches thick
- White Satin Ribbon – 7/8 inches thick
- Black Satin Ribbon – 1/8 inches thick
- Hot Glue Gun
- 2 Small Black Buttons
- Hair Clip of Choice – I used plain ole’ bobby pins
- Scissors
- Ruler
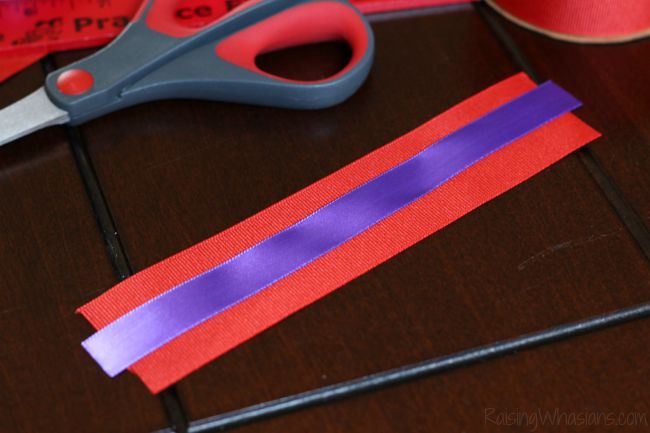
Directions:
1. Start by cutting out your pieces of ribbon. This will make the construction process go much smoother. 🙂 Here’s the ribbon lengths I used for my daughter’s bow. Start with the smallest white bow. Adjust accordingly:
- White Ribbon – 5 inches long
- Red Ribbon – 6 inches long
- Purple Ribbon – slightly longer than 6 inches
- Silver Ribbon – 7 inches long
- Black Ribbon – 1 1/2 inches long
- White Ribbon – 3 1/2 inches long
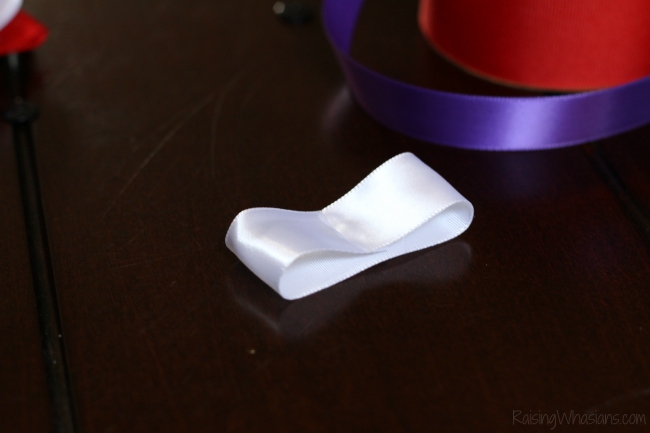
2. Glue the ends of the 5 inch white ribbon together with slight overlap, making sure the seams match up well. Once your circle is set, place the seam on the bottom. Add a touch of glue in the middle of the circle and press down, creating a pinch in the middle of your bow.
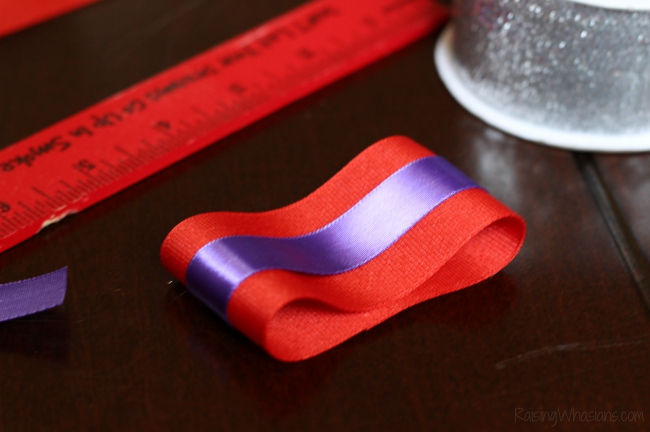
3. Now we’re going to glue the ends of the red and purple ribbon together. Place the purple ribbon in the middle of the red ribbon. Glue just the ends of purple ribbon on top of the red ribbon. You should now have an even stripe down the center of the red ribbon. Glue the ends of the red ribbon together with slight overlap, making sure the seams match up well. Once your circle is set, place the seam on the bottom. Add a touch of glue in the middle of the circle and press down, creating a pinch in the middle of your bow (sane as your white ribbon).
4. Glue the ends of the silver ribbon together with slight overlap, making sure the seams match up well. I needed extra glue for this ribbon since the sparkles were more difficult to glue. Once your circle is set, place the seam on the bottom. Add a touch of glue in the middle of the circle and press down, creating a pinch in the middle of your bow.
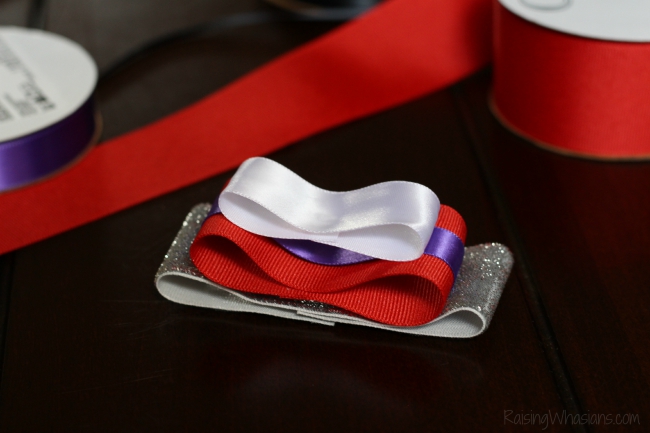
5. Alrighty, now for the layering. Place your silver bow on the bottom, non-seam side up. Now top with your red striped ribbon and white ribbon, making sure each bow is centered. Add a touch of glue to hold your bow together. Now turn the bow over.
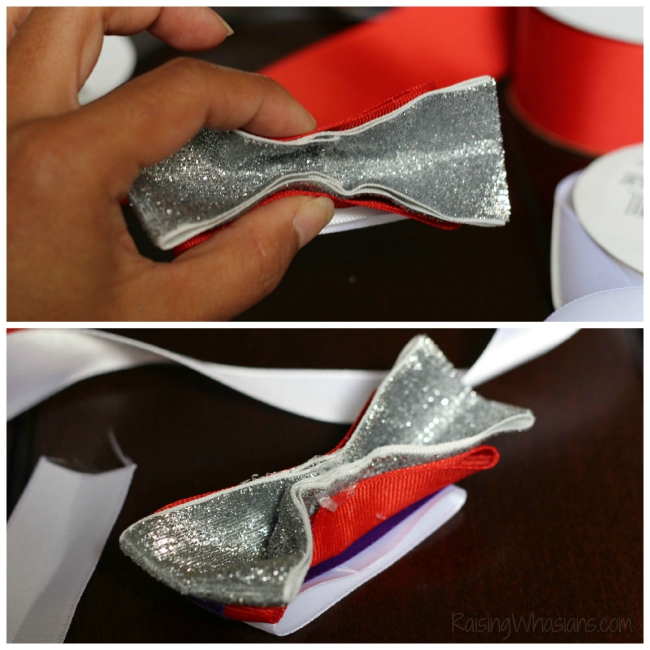
6. The hardest part about this bow is getting everything to cinch well for that perfect bow look. Make sure you have plenty of glue for this. Seam side up, pinch the silver ribbon together in half. Add your glue to hold shut. Pinch and glue for the red stripe ribbon as well. Leave the white ribbon un-glued in the back.
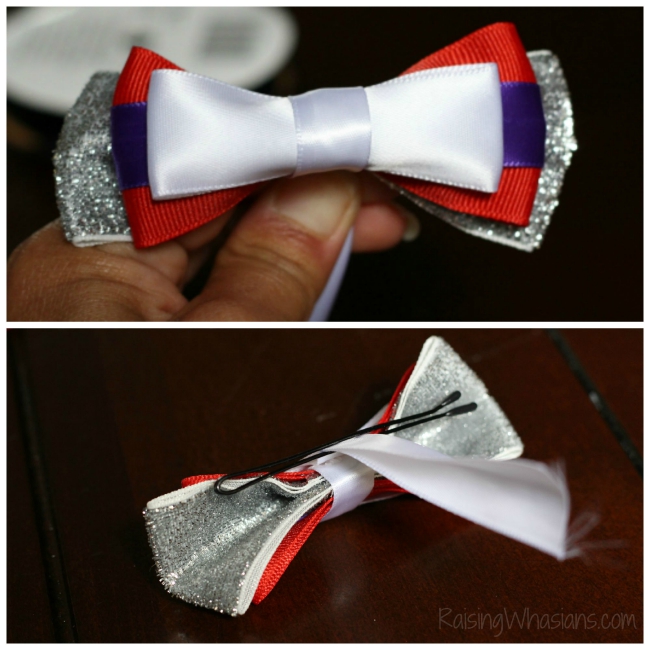
7. Now take the 3 1/2 inch white ribbon and fold in half (if desired). Wrap around the entire bow tightly, gluing the first seam in the back. Add and adjust your hair clip in between the remaining ribbon to create your hair bow clip in the back. Glue the ribbon. Cut off excess.
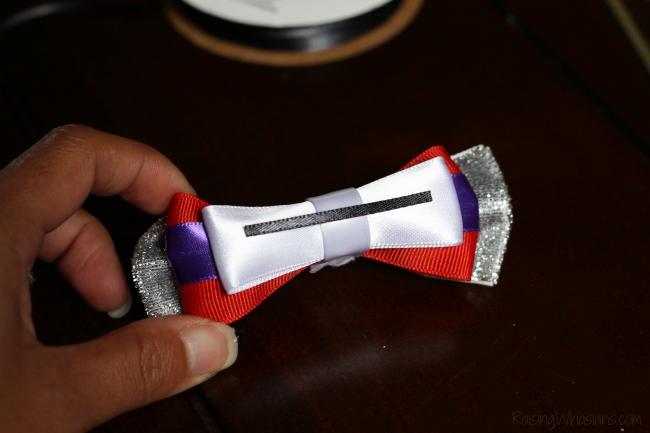
8. Take your 1 1/2 inch black ribbon and glue onto the top of the white bow, centered.
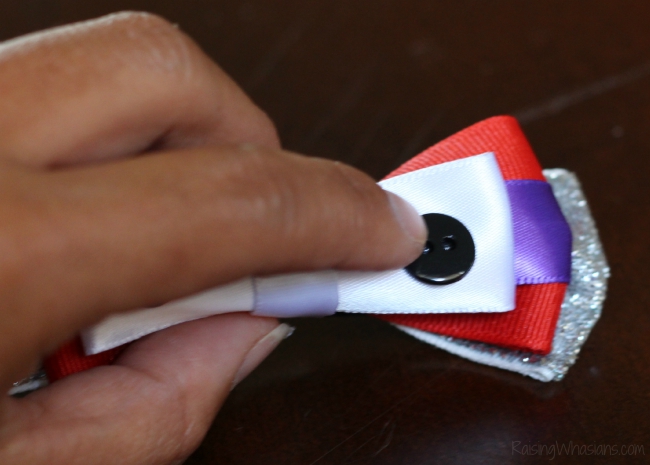
9. Glue on your buttons to the ends of the ribbon.
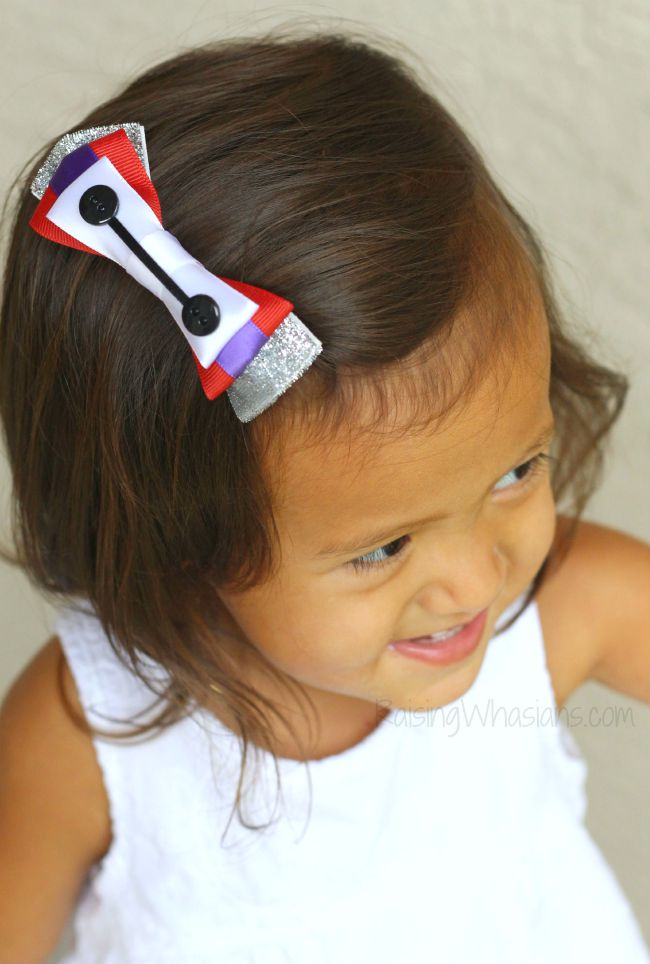
And VOILA! The perfectly cutest no sew Baymax hair bow….EVER and no needle or thread in sight 🙂
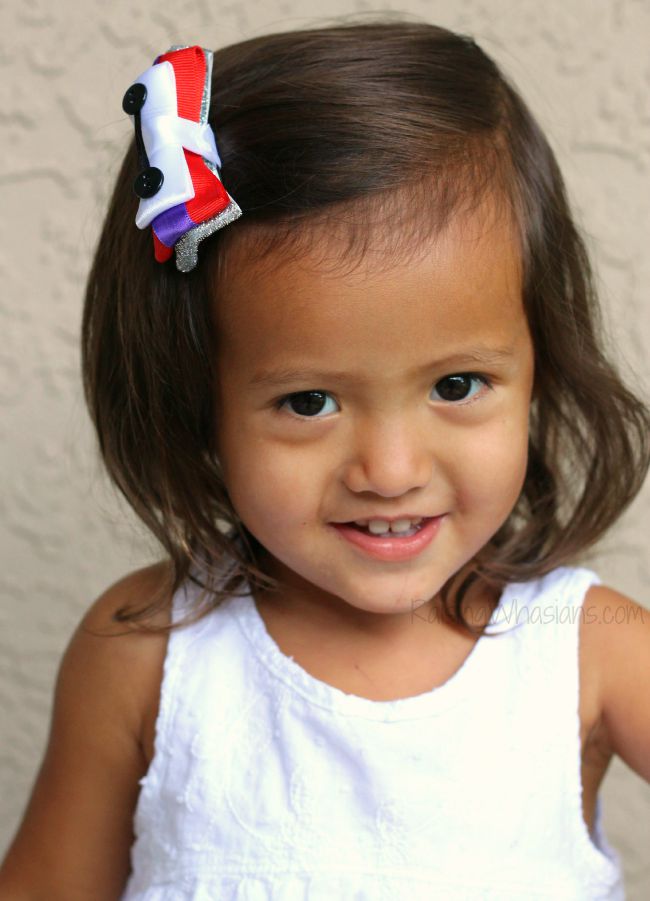
Let my puddle of love commence. I can’t handle all of her adorableness. She could have asked for a pony at that point and I would have given it to her. I’m a complete mom sucker with that hair bow.
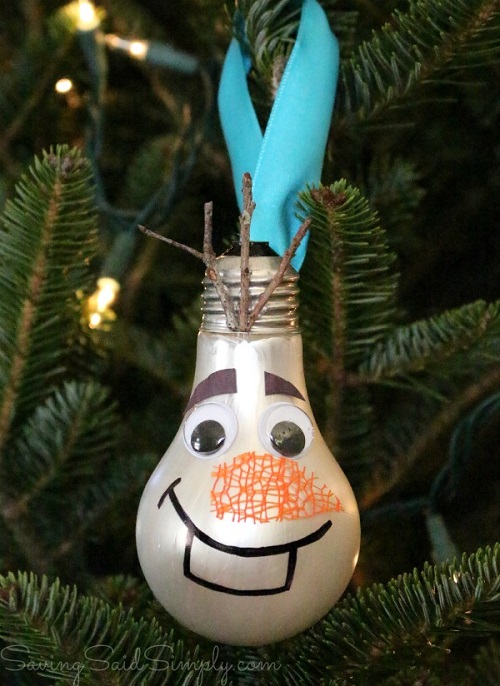
Need some more Disney crafting ideas? Check out some of my most popular Disney crafts!
- DIY Olaf Lightbulb Ornament
- Cinderella Glass Slipper
- DIY Finding Nemo Party (most popular!)
- DIY Mulan Party
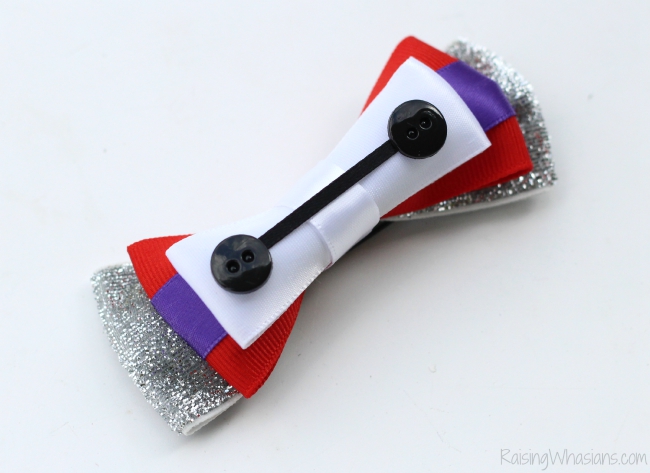
What little girl in your life would LOVE this DIY No Sew Baymax Hair Bow for Girls?
Be sure to follow Raising Whasians for more great recipes, crafts, travel and family moments!
Love Disney crafts? Check out these popular posts:


Theresa says
Awe! That’s such a cute bow! And I love that it’s no sew since I have yet to master the sewing machine!
Kristi says
What a darling bow! You gave really great step by step directions as well.
Sabrina says
That bow is SO ADORABLE! I love it and I’m forwarding this to a friend whose daughter loves big hero 6
Ann Bacciaglia says
These are so cute and easy to make. They would have been perfect when my Daughter was in Cheer.
Kiwi says
First, congrats to the brand revamp…I almost didnt realize you changed it but change is good! Also this DIY hair bow is adorbs and so is your daughter!
Penelope says
What a cute bow! We are all fans of Big Hero 6 here, and I know my nieces would adore me if I made bows for them.
Brandy says
I love Baymax so much so! I wish I had a little tiny girl who would use a hair bow like this – my daughter is almost 13 and my niece won’t keep this in her full curly hair 🙁
Elizabeth Johnson says
Simple amd adorable. My daughter actually loves baymax
Sue E says
This DIY Baymax hair bow for girls is adorable!! I pinned this right away!! I know my young granddaughters would be so proud of themselves if they made this & also brag about it while wearing it!! I love that there isn’t any sewing!!
Aileen says
Oh my goodness this is too cute! I am going to have to make one of these for my niece for her trip to Disneyworld next year!
Rija says
Adorable! This idea is simple,but so great!
Gail Williams says
This is such a cute idea. My granddaughter is nearly 2 years old and I want to craft her a few. I can’t wait to get started.
Dorothy Boucher says
I am loving how easy and adorable this is , I am definitely not a crafty person but am going to try this for my daughter back to school , and who knows maybe I will make more loll
Linda Moffitt says
Very cute and looks easy enough that I could make 1 for my Emma thanks for the know how
Nicole Vieu says
That is adorable!
Lauryn R says
This is such a cute idea and such an adorable bow!! I love how easy it is, I can’t wait to make one with my daughter too!
Lana Simanovicki says
These are cute I need to make some of these for my daughter
ranadurham says
these are so cute . i love these and i can make alot of these under 30 minutes, even the kids can help.
Rosie says
That came out nice! I like to make fabric flower accessories including headbands & hairpins – kids love wearing them!