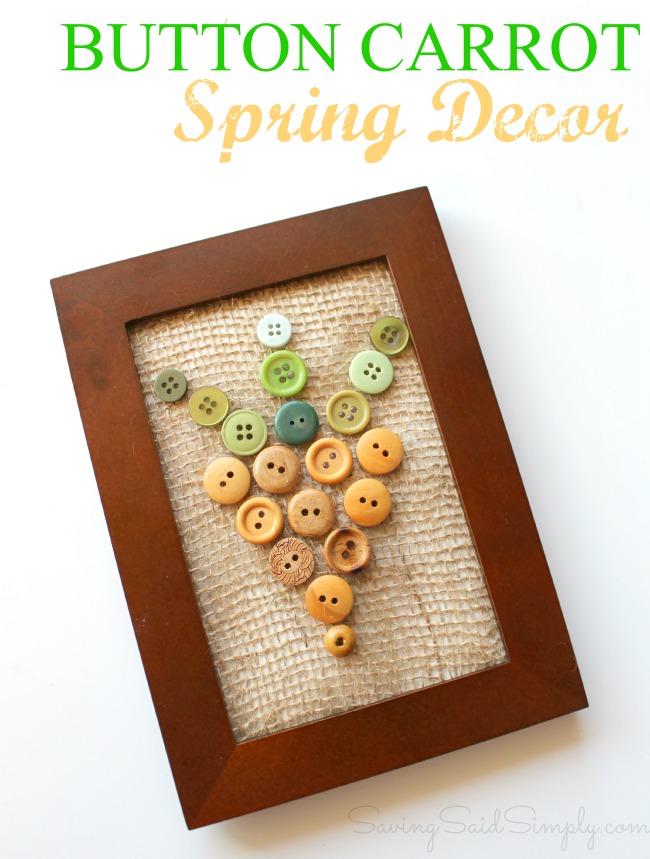
Easy Spring Decor Carrot Craft
Spring is here and I sadly had yet to begin and Easter or Spring Craft idea yet. I know, shame on me. But did I tell you what I recently rummaged through? Well, my rummage project turned into this beautiful Easy Spring Decor Carrot Craft. Perfectly framed and sitting now for Easter and Spring (and quite possibly the whole year now), I love how we have a twist of something old with something modern, all with a touch of whimsy. And the whole thing cost me about $5.
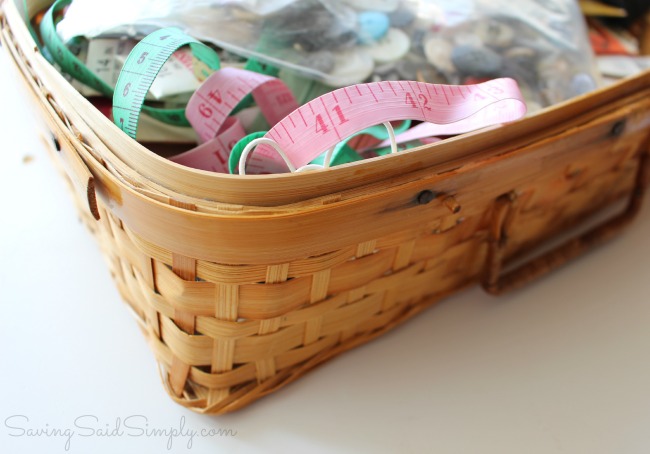
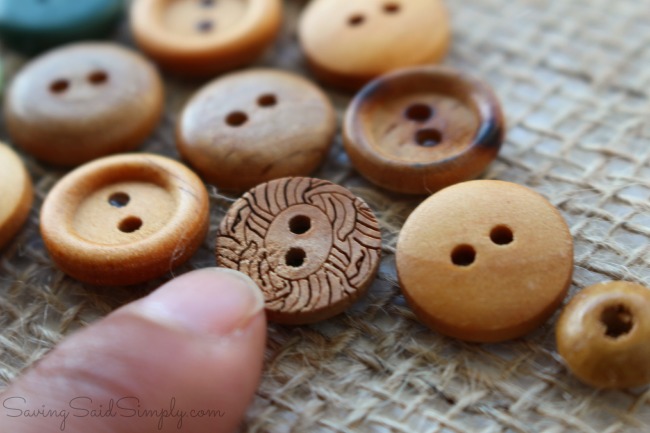
I inherited my first ever sewing collection, all passed down from my grandmother. She was an amazing seamstress, sewing for her customers all until the very last day. Inside my treasured collection is all sorts of treasures from Japanese silk threads to 1950s containers to this amazing collection of buttons. Maybe one day I’ll divulge a little further in, but for today, I found it good therapy to embark on my treasure hunt. I was rummaging through these amazing buttons that I found these darling little wood buttons. I just had to use them. Paired with a hodge podge of green buttons also from my grandmother’s collection, I was able to create this cheery Spring carrot, and a fond memory.
What You Will Need:
- Buttons. I used wood and green, but feel free to use orange or a mixture of whatever works with your decor
- Hot Glue (because Christie cannot sew)
- Burlap, at least 4 inches in width
- Paper for a framed background
- 4×6 frame
Directions:
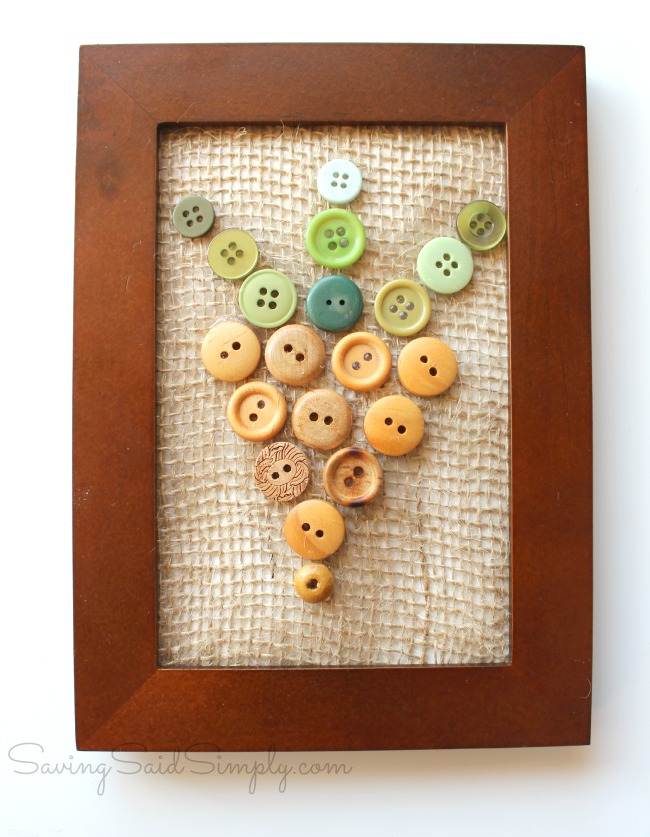
1. I highly recommend laying out your carrot design on the burlap first. Arrange your buttons in carrot shape. You can do what I did above or just get creative. Keep in mind that the burlap can stretch and change too.
2. Line your table with plastic. Using the hot glue gun, then proceed to glue the buttons to the burlap in your carrot design. Lift up immediately to keep your burlap from being glued to the table.
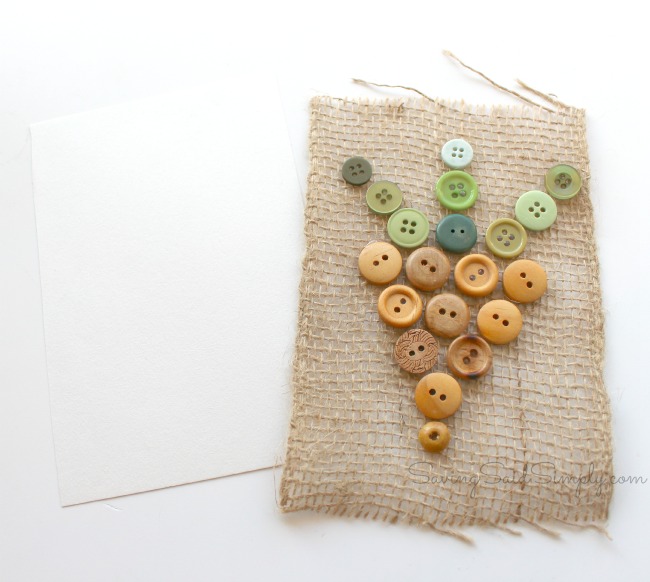
3. Using your frame backing, cut out the paper to fit the inside of the frame. Think about texture, crinkles, color etc. to give your paper a pop 🙂 I went plain jane white, to make sure the buttons were the stars.
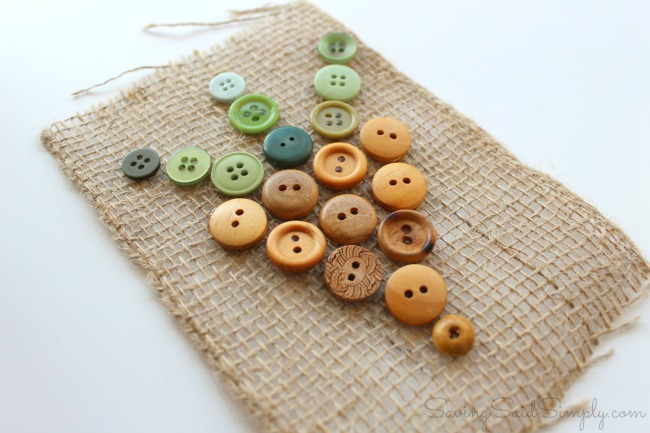
4. Cut to fit and glue your burlap to your paper, making sure to center the carrot.
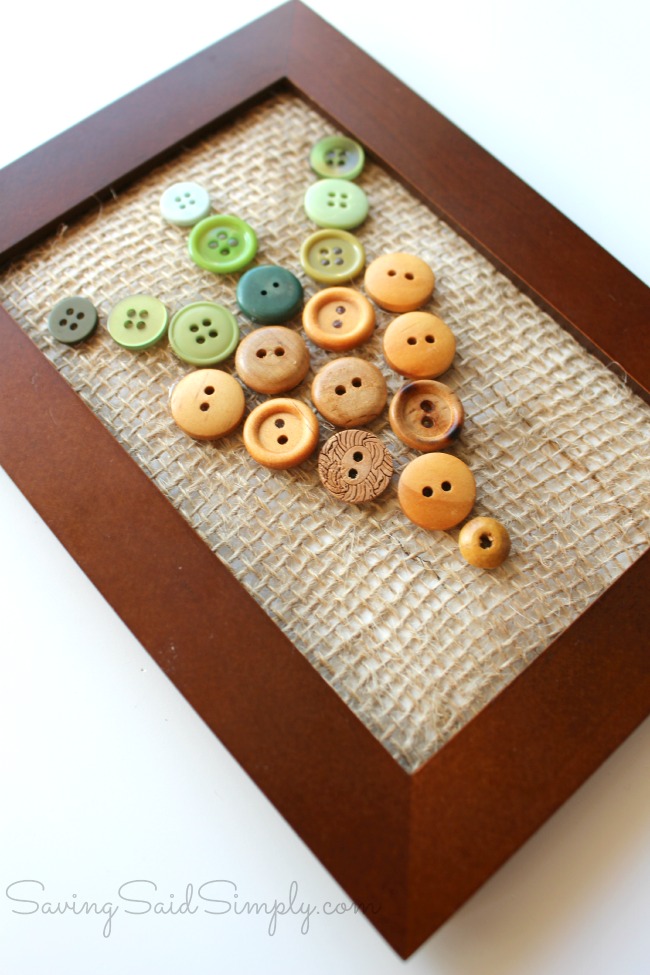
5. Place your carrot in your frame. Depending on the depth of the frame, you may need to remove the glass. I did, and I actually like it better, so you can see the designs on the buttons even clearer.
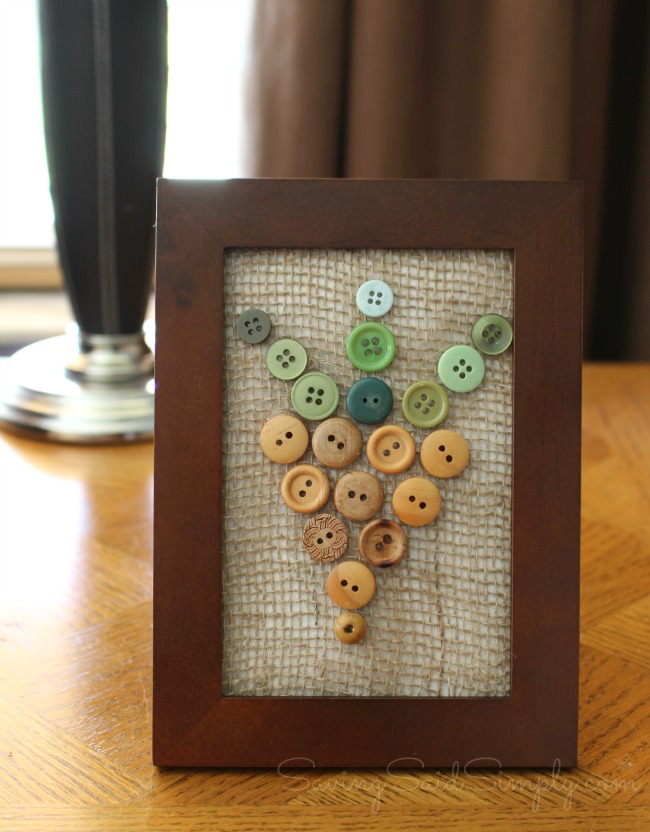
6. Display for Easter, Spring or year round! I love my new little spring decor, and it’s a perfect reminder that I still have a piece of my seamstress grandmother with me. I can look and smile at the cheery new art sitting in my living room. A small nod to Easter and Spring and a big hug to Obachan.
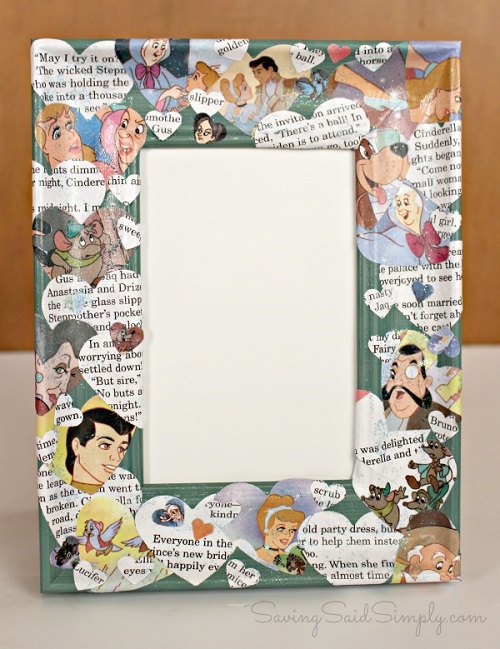
Need another fun craft idea? Check out my DIY Cinderella Picture Frame & Glass Slipper!
How do you decorate for Easter?
Be sure to follow Raising Whasians for more easy craft ideas, family recipes and more.


Robin (Masshole Mommy) says
That is seriously adorable! I love how it came out.
Stacie @ Divine Lifestyle says
I think that is so adorable! This is exactly the kind of project that’s so much fun to do with the kids. I love it!
Melissa Pezza says
I can’t wait to make this with the kids! They’re going to have so much fun picking out the buttons. Thanks for sharing this!
Jeanine says
How cute! Usually i don’t do much for Easter! Usually a cute little centrepiece and that’s it for dinner. I love this though! Very cute and clever!
Anne - Mommy Has to Work says
I have so many Easter decorations from my mom and aunt. But we did make an Easter garland a few years ago.
Debra says
Such a cute idea. We have tons of buttons in our house. We keep them all in a jar, more for decoration than for actually sewing back onto clothing. We decorate by making bunny/chick egg garlands, we add a few new ones we create each year.
Catherine S says
This is such a cute craft idea. I need to make a couple and send them to my mom and stepmom. We just moved so I haven’t done any decorating for Easter.
Liz Mays says
My gosh! That is such a pretty craft. I love how the different colors and styles of buttons work together.
Pam says
What a cute craft. I love how simple it is to make.
Janelle says
I love this craft idea! I don’t sew, but I inherited a ton of my mother’s sewing items. That included a ton of buttons. You’ve inspired me to start looking through the button and make this cute craft. I’ll probably have my daughter help me pick out some special buttons.
vanessa: BriteandBubbly says
Very cute idea. I love that you used buttons to make it. It gives it a very shabby chic feel.
Marcie W. says
Goodness this is so adorable! I really like the overall natural look of the craft and may be tempted to use it as kitchen décor instead of Easter décor so I could have it up all year around.
ora lee gurr says
I was frazzled thinking of spring décor till now. Thanks for the great button carrot in the frame idea. It will be fun to make!
Crystal says
I like to frame the art my kids bring home from school for holiday decorations. They love seeing their old artwork each year. And since they don’t charge me for their masterpieces, you can’t beat the cost.
Demetra @SweetSavant says
That’s such a pretty craft and a great way to display a button collection. Your instructions are so clear with great pictures too.
Rosey says
Well that turned out great. It’s a nice way to celebrate the upcoming holiday.
Ann Bacciaglia says
This is such a cute craft to do. It is such a great decoration. I will have to try making some.
Jocelyn McGaffic says
This is so adorable! I love the antique look. How great that you used items passed down to you. Crafty and sentimental!
Kiwi says
This is so crafty!! I love this easy and perfect for easter diy!
valerie g says
I would never have thought to do that, so cute. will have to try it